



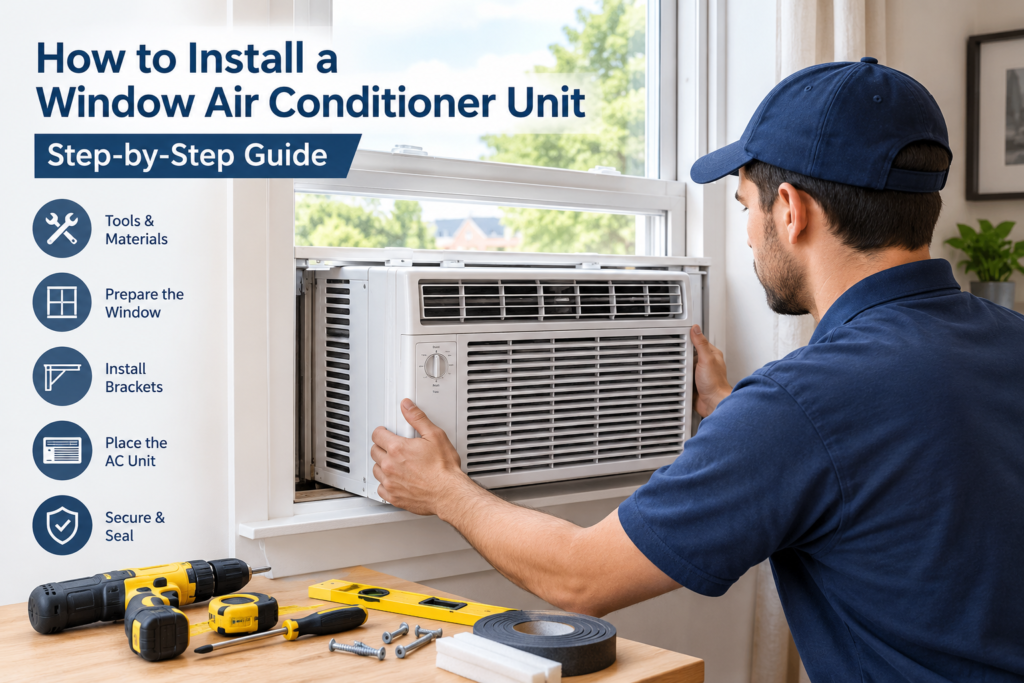
Installing a window air conditioner correctly can make a noticeable difference in cooling performance, comfort, and safety. A properly supported unit is less likely to shift, leak air, or allow warm outdoor air into the room. Before you install air conditioner equipment, check the manufacturer’s instructions, measure the window opening, and make sure the electrical outlet can safely handle the unit.
This guide explains the installation of air conditioner equipment specifically for window units. You will learn what tools and materials you need, how to position and secure the unit, how to seal gaps, and when it is better to use professional help. These practical steps can also help homeowners understand what is involved in installing air conditioner equipment before arranging an air conditioner installation service.
What You Need Before Installing a Window Air Conditioner
Good preparation makes window AC installation easier and reduces the chance of problems later. Before starting, read the installation manual for your specific model. Window designs, mounting brackets, support requirements, and electrical needs can vary between air conditioners.
Tools You’ll Need
Most basic window AC installations require a screwdriver, measuring tape, level, drill, pencil, and suitable screws. Some installations may also require a wrench or other tools specified by the manufacturer.
Keep the tools nearby before you begin. If the unit is heavy, have another person help you lift it. Trying to handle a large AC alone can increase the risk of dropping the unit or damaging the window.
Materials and Hardware to Prepare
Depending on the AC model, you may need mounting brackets, screws, foam insulation, weatherstripping, side-panel hardware, and sealing material. Use only hardware recommended by the manufacturer or appropriate for the window structure.
Do not assume that a random bracket or screw is suitable. The support system needs to handle the weight of the unit and keep it stable while it is operating.
Check the Window Size and Air Conditioner Fit
Measure the width and height of the window opening before purchasing or installing the unit. Compare those measurements with the minimum and maximum window dimensions listed by the manufacturer.
The window should also open and close in a way that allows the AC to sit securely. Check the sill, frame, and surrounding area for damage. A weak or damaged window may require repair before installing an air conditioner.
How to Install a Window Air Conditioner Unit
The following steps provide a general guide for how to install an air conditioner in a suitable window. Always follow the instructions supplied with your particular model because installation methods can differ.
Step 1: Choose the Right Window
Choose a structurally sound window that can accommodate the AC’s dimensions and weight. A location close to a suitable electrical outlet is usually more practical.
Avoid placing the unit where curtains, furniture, walls, or other objects block the airflow. The outdoor portion also needs adequate clearance so that warm air can leave the unit.
If you are unsure whether the window can safely support the AC, stop and check the manufacturer’s requirements or contact a qualified professional.
Step 2: Prepare the Window Opening
Clean the window sill and surrounding frame before installation. Remove objects that could interfere with the unit or mounting hardware. Open the window to the position specified by the manufacturer. If the unit includes foam insulation or weatherstripping, prepare those materials before lifting the AC into position.
This preparation is an important part of installation of air conditioning because gaps, dirt, or damaged surfaces can make it harder to achieve a secure fit.
Step 3: Install the Mounting Brackets
Some window AC units use brackets to provide additional support underneath the unit. Install these brackets according to the manufacturer’s instructions.
Check that each bracket is firmly attached to an appropriate structural point. Do not improvise a mounting system if the manufacturer specifies a particular support method.
Proper support is especially important for heavier units. The goal is to prevent the AC from shifting, tipping, or placing excessive stress on the window frame.
Step 4: Place the Window AC Unit
With another person helping if necessary, carefully position the air conditioner on the prepared window sill or mounting system. Keep the unit centered according to the manufacturer’s instructions. Do not force it into an opening that is too small. Make sure the rear portion of the unit has the required outdoor clearance. The condenser needs space to release heat effectively.
Step 5: Secure the Air Conditioner in the Window
Lower the window sash against the top of the AC as directed by the manufacturer. Then secure the unit using the supplied screws, brackets, or other hardware. The AC should not move freely when you gently check it. However, avoid overtightening screws or damaging the window frame. If the unit appears unstable, stop rather than trying to solve the problem with improvised materials.
Step 6: Extend and Secure the Side Panels
Most window AC units have adjustable side panels that extend toward the sides of the window. Pull the panels out until they meet the window frame. Secure them using the supplied hardware.
These panels do more than improve appearance. They help close the open space around the AC and reduce unwanted outdoor air, dust, and insects from entering the room.
Step 7: Seal Gaps Around the Window AC
Inspect the area around the unit for visible gaps. Use the supplied foam insulation or suitable weatherstripping where recommended. Proper sealing is an important part of window AC installation because even a well-installed unit can lose cooling efficiency if large gaps remain around it. Do not block the AC’s vents, drainage points, or other openings that are required for normal operation.
Step 8: Check the Unit and Turn It On
Before switching the AC on, check the mounting hardware, side panels, power cord, and window position one more time. Confirm that the unit is stable and that nothing is blocking its airflow. Plug it directly into the appropriate outlet unless the manufacturer’s instructions state otherwise.
Turn the unit on and listen for unusual vibration or noise. Check that cool air is coming from the indoor side and that the outdoor section is able to release heat.
How to Seal a Window Air Conditioner Properly
Sealing is one of the easiest parts of an installation to overlook. However, poor sealing can allow warm outdoor air and moisture into the room.
Preventing Air Leaks Around the AC
Look around the top, bottom, and sides of the AC for open spaces. Fill suitable gaps with the insulation or weatherstripping recommended for your unit.
The window sash should also sit firmly against the AC where designed. Avoid using materials that interfere with the window’s support or the AC’s drainage.
Improving Insulation and Energy Efficiency
Good insulation helps reduce unwanted heat exchange between indoors and outdoors. This allows the room to stay comfortable without making the AC work unnecessarily hard.
Sealing does not mean covering every opening on the appliance itself. The unit’s vents, drainage areas, and airflow paths must remain unobstructed.
How to Make Sure a Window AC Is Installed Safely
Safety should be considered throughout the entire installing air conditioning process, not only after the unit is in place.
Support the Weight of the Unit
Window air conditioners can be surprisingly heavy. Make sure the window sill, brackets, and other support hardware can handle the unit’s weight. Never rely only on the closed window sash if the manufacturer’s instructions require additional support.
Check the Electrical Outlet and Power Cord
Use an appropriate electrical outlet that matches the manufacturer’s requirements. Inspect the cord for damage before use. Avoid connecting a high-power window AC to an unsuitable extension cord or overloaded power strip. Electrical concerns are a good reason to contact a qualified professional.
Keep the Air Conditioner Level
Follow the manufacturer’s instructions regarding positioning and drainage. Some units are designed with specific drainage arrangements, so do not create an extreme tilt unless the manufacturer specifically requires it. If the AC appears noticeably unstable or incorrectly positioned, turn it off and correct the installation before continuing.
Make Sure Water Can Drain Properly
Air conditioners remove moisture from indoor air. Depending on the design, that moisture may drain through a specific outlet or system. Keep drainage areas clear and follow the manufacturer’s instructions. Poor drainage can result in water collecting where it should not.
Common Window Air Conditioner Installation Mistakes
Even a basic install AC project can cause problems when important details are skipped.
Installing the Wrong AC Size
An air conditioner that is too small may struggle to cool the room, while an oversized unit may not operate in the way intended for the space. Choose the unit according to the room size and manufacturer’s recommendations rather than simply selecting the largest available model.
Leaving Gaps Around the Unit
Large gaps allow outdoor air and moisture to enter. They can also make the room less comfortable. Use the appropriate insulation and side panels to close the installation area without blocking necessary airflow.
Skipping the Mounting Brackets
If your model requires mounting brackets, do not leave them out. Brackets can provide important structural support. The exact support method depends on the AC model and window design.
Blocking Airflow
Furniture, curtains, walls, or other objects can restrict airflow. Keep both the indoor and outdoor portions of the AC clear according to the manufacturer’s clearance recommendations.
Using an Unsafe Extension Cord
A standard household extension cord is not automatically suitable for a window air conditioner. Using an inappropriate cord can create an electrical hazard. If the outlet location is a problem, have the electrical setup assessed rather than relying on an unsuitable extension solution.
How Long Does It Take to Install a Window Air Conditioner?
For a straightforward installation, a window AC may take around 30 minutes to a couple of hours, depending on the unit, window, mounting requirements, and the experience of the person doing the work.
The process can take longer if brackets need to be installed, the window requires repairs, the AC is particularly heavy, or additional sealing is necessary.
This is why how long does air conditioner installation take does not have one answer for every property. The manufacturer’s instructions and actual installation conditions matter.
Can You Install a Window AC Without Brackets?
Some window AC models are designed to use the window itself as part of the support system, while others require brackets or additional support.
The answer depends on the specific unit and window design. Check the manufacturer’s installation instructions before removing or skipping any supplied support hardware.
For heavier units or unusual window configurations, additional support may be necessary. If you are unsure, professional AC installation service can help determine the appropriate setup.
How to Remove a Window Air Conditioner
Removing a window AC requires the same attention to safety as installation. A unit can be heavy and awkward to handle.
Turn Off and Unplug the Unit
Switch the AC off and unplug it from the electrical outlet. Do not start removing hardware while the unit is operating.
Remove the Side Panels and Supports
Retract or remove the side panels according to the manufacturer’s instructions. Then remove the screws, brackets, or other support hardware.Keep track of the hardware if you plan to reinstall the unit later.
Carefully Lift the AC From the Window
Have another person assist with heavy units. Carefully support the AC as you move it away from the window. Do not attempt to catch or hold a falling unit. Once removed, close and secure the window properly.
When Should You Hire a Professional for Window AC Installation?
DIY installation can be practical for some standard units, but professional assistance may be appropriate when the installation involves a heavy AC, unusual window, difficult access, damaged window frame, or electrical concerns. A qualified technician can also help when the manufacturer’s installation requirements are difficult to follow or when additional structural support is needed.
People searching for an air conditioner installation service or professional AC installation should check that the provider has experience with the type of equipment and installation involved.
Searches such as air conditioner installation near me, or AC installation service near me, can help locate local providers, but homeowners should still check credentials, reviews, pricing, and the scope of work before hiring anyone.
The same principle applies to broader residential air conditioner installation, home air conditioning installation, or an air conditioning system installation. Central and split systems involve different equipment and installation requirements from a window unit. For example, split AC installation, central AC system installation, and central air conditioner installation generally require more expert work than a basic window unit.
How long does it take to install a window AC?
A straightforward unit may take roughly 30 minutes to a couple of hours. More complicated installations can take longer because of the window design, mounting requirements, unit weight, or additional sealing.
For broader systems, the answer to how much does it cost to install an air conditioner and how long does air conditioner installation take varies considerably by system type, property, equipment, and labor. The cost to install window AC, AC installation cost, and air conditioning installation cost should therefore be treated as separate questions from the cost of a central system.
If you are considering installing central air conditioning unit equipment, centralized AC installation, or central air conditioning installation cost, you will need a separate assessment because those systems involve different components and labor than a window AC.
FAQs:
Can I install a window AC by myself?
Yes, some standard window AC units can be installed by a homeowner if the window is suitable and the manufacturer’s instructions allow it. However, heavy units, difficult windows, structural concerns, and electrical issues may require professional help. This is also why can I install an air conditioner myself depends on the type of system. A window unit is very different from centralized or split-system equipment.
Does a window air conditioner need to be tilted?
Do not automatically tilt the unit based on old general advice. Follow the manufacturer’s instructions for your specific model. Modern window ACs can have different drainage designs and positioning requirements.
How do you secure a window air conditioner?
Secure the unit using the mounting hardware and support system specified by the manufacturer. This may include brackets, screws, the window sash, and side panels. The AC should remain stable and should not move when installed correctly.
Can a window AC be installed in any window?
No. The window must meet the unit’s size, structural, opening, and installation requirements. Some window types may not be suitable for a particular AC. Always check the manufacturer’s minimum and maximum window dimensions before purchasing or installing a unit.
How do I stop air from coming through my window AC?
Use the supplied side panels and appropriate foam insulation or weatherstripping to close gaps around the unit. Check the top, bottom, and sides for openings. Do not seal over vents or drainage openings that the AC needs for normal operation.
Final Thoughts:
A window air conditioner does not need to be difficult to install, but it does need to be installed carefully. Measuring the window, using the correct support hardware, securing the unit, sealing appropriate gaps, protecting the electrical connection, and checking drainage are all important steps.
For a simple window unit, careful DIY work may be enough. For heavy equipment, unusual windows, electrical problems, or more complex installation of air conditioning, professional assistance can provide a safer approach.
The most important rule is simple: follow the manufacturer’s installation instructions for your exact model. Proper preparation and support can help your AC operate safely while keeping unwanted air and moisture from entering around the window.